Sunday, 19 July 2020

Mask making 101

So it has just been announced that masks are mandatory as of midnight this Wednesday.
Luckily I have been trialling patterns this week, and did some batch cutting yesterday.  The Craft Passion pattern is the most comfortable and is quick to sew, with no darts or ironing. I mean you could press the seams but I have neither the space nor time for that! What I do have is the overlocker set up on my cutting table ( not much room left for cutting though!) and the sewing machine over its little table, and a clear pathway between the two!
Pattern wise I realised when I printed the pattern it is slightly under the scale, but fits ok. I printed the mens size, which measures along the bottom at 13.5cm ( to fit me) and  I enlarged the pattern ( by drawing around it with 2 pencils!) to be 14.5cm , which fits the tall 19 year old comfortably.

So my instruction for batch making masks are:
Cut out 3 layers. 1 outer   2 liner   3 inner ( the bit that touches your face)

I have been using either some weatherproof fabric for the outer ( a random Spotlight find years ago, knew it would come in handy for something! Catch is I only have pink or a dull orangey- red) with a liner and inner cut from old sheets.
 Version 2 is cut from poly- cotton outer, liner from cut up shopping bags ( made from non-woven polypropylene / viscose), inner from poly cotton sheeting. Lucky I have a pile of second hand sheets I use for quilts, and pattern muslins!
Elastic or t shirt yarn (strips of t shirt fabric - which is more comfortable on the ears than elastic) is used to hold it on. I prefer 1 long piece about 65 cm, that goes around the back of the head twice. Can be worn over or under the ears.


Black= outer
blue= liner
grey-inner
13.5 cm  or 14.5cm across, handy that it randomly lines up with the 10cm mark on the cutting mat!

If you want to include a removable piece of wire my method is to use  a scrap of t shirt fabric or something that won't fray or require a hemmed edge. Sew a little rectangle ( drawn on to pattern above) onto each  of the INNER pieces BEFORE sewing together/ Much easier than trying to sew a pocket into the 3D shape once it is sewn together. Use the gap in the centre to insert/remove wire for washing/ But I have found the mask sits ok on the face and doesn't really need the wire.

Sew curve edges together, I find it easier to start at the flat base side, otherwise the pointy bit can get stuck in the feed dogs of the machine. Sew each pair together.


Now I swap to the overlocker and overlock the edges for a neat finish and to save having to do a double hem later. Sew right sides out.
By overlocking the outer and liner together, I can then treat it as one piece and not get the wrong layers together, which I did on one of my practise ones!  I had a slightly textured fabric for the liner but it ended up as the inner, and it tickles my nose to much.  A nice smooth sheet is much better, or even something softer, might try some satin lining fabric, although  it can be a bugger to sew as it frays like crazy...

Now there are 2 pieces to work with.


Pin or clip the 2 pieces together, right sides together. Sew  TOP and BOTTOM but not the short sides.
Turn right sides out, I find a chopstick is handy.Hand roll the hems to make the edges neat ( quicker than ironing!) Nearly there!


This is where the overlocked sides are handy. Fold the edges in about 1cm on  either side to make a casing for the elastic. Sew one side, then turn and top stitch the top or bottom edge ( depending on where you started!)


Done! Cut about 65 cm elastic, thread on a large needle or bodkin, in one loop through each side. 


Wednesday, 8 July 2020

Off to the beach pt 2

Once I finally figured out how to place the strips - pinning them to a large pinboard really helped!- and that I needed to stagger each strip by half a block, not a whole one ( which looked like bricks!) things started coming together!
The finished quilt!
When I gave it to my sister she said " It's the beach!" - yay! 

Monday, 6 July 2020

Off to the beach pt 1

Looking for ideas for a gift to make for my sister’s birthday, I came across this image on Pinterest. I lot if searching ( Pinterest is garbage for anything other than just pictures!) I finally found the pattern had come from a book on Bargello quilts.

I coudn’t find anyone with a copy, but my quilting pro MIL did have this book, which I borrowed. It was very helpful in planning my design. There was a lot more involved than I had first thought! But after weeks of trying to puzzle it out myself, the book was really helpful to understand the process.

It even has graph paper to photocopy and plan with.

This was my colour plan, crinkled from being carried to Rathdown Fabrics and Spotlight to find some fabric!  

Saturday, 20 June 2020

Quick craft fix

Sometimes I just need a quick craft fix, to satisfy the urge to be creative, but also working with in a limited time. 
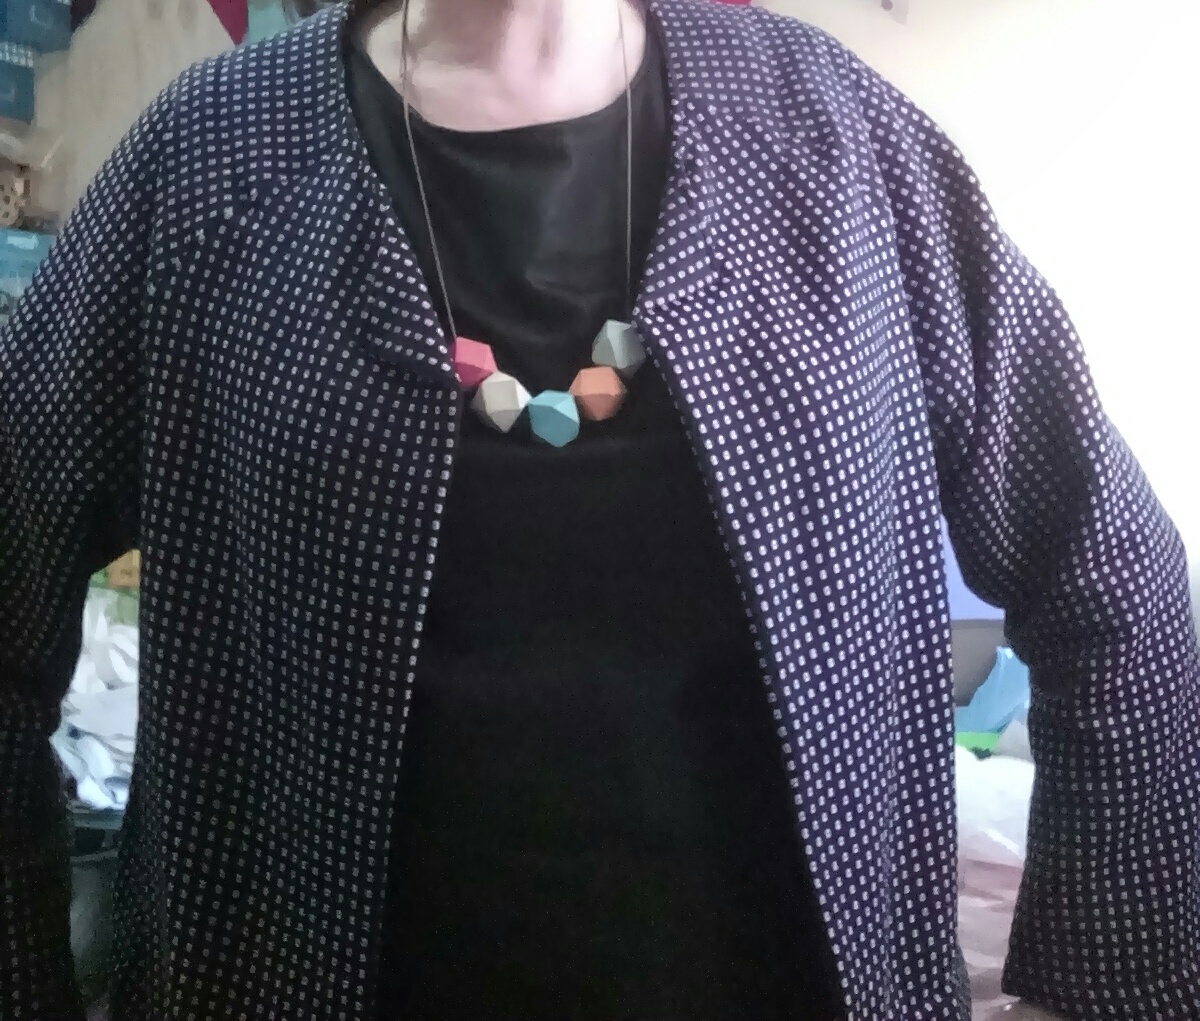
Reading about the Emerging Writers Festival in The Age last Sunday, the necklace worn by one of the authors interviewed in  the article caught my eye. I took a photo, got a paintbrush and some timber beads, and got painting! Conveiniently the paints were already out, as my H had been painting some of his handmade fishing lures earlier in the day.

Some old knitting needles and bbq skewers are handy for holding the beads while painting them!
Quite happy with the finished product! Finished with a quick rub of beeswax polish and anop shop silver chain, tah dah!

Sunday, 31 May 2020

Home Made Muesli Bars 1

I often get requests from workmates for my home made muesli bar recipe. Here is one of favourite go to recipes. Another post found lurking in drafts!
The super seedy bars are from " River Cottage Light  & Easy". They take a little bit more work because you have to lightly fry all the nuts/ seeds first. But they are sooo good! Mind you everyone else at home says they are too seedy- so all the more for me to eat! You can see my version on the post it, plus I sprinkle salt on top, and leave out the rosemary & chilli.


another sewing catch up

Falling behind with my posts lately! I made 2 jackets in the school holidays last year,  from one of my favourite inspiration books. Just found this post was sitting in drafts! Ignore the last paragraph which is about 7 months out of date now!

I just love the pictures, the stories, and of course the patterns! I traced the pilvi jacket, checked the size and shape against a couple of other jackets, and got cutting!

This is the 2nd one I made ( will have to find a photo of the 1st one - I was wearing it yesterday!)


I think it even looks a bit like the picture in the book!


I wore it to work the other day because we had a meeting with a delegation of teachers from Sweden, so I thought I would wear my jacket sewed with a pattern made by a designer from Sweden! ( plus I don't still have the ABBA t shirt I loved in primary school!!!)


Hip to be square #1

I bought this “ Pretty little patches” magazine years ago, and  liked the pattern for the “ Disappearing nine patch” quilt.


So started playing around with colours, and cutting out squares. Sewing squares together to make 9 patch squares. More next post - I can only write short posts, because I can’t see the bottom of the screen!