Tuesday, 29 December 2020

Drafting a new sashiko pattern

I have been hanging out to do another sashiko piece, but was not happy with my 2 attempts to trace/draw a pattern onto blank fabric. Perhaps it was partly my wrong fabric  choice, it was just a bit slippery/stretchy and my lines looked all wonky! 
I have ordered a sashiko stencil kit, and stencil ruler from the US but they are yet to arrive.  EDIT UPDATE-order cancelled as out of stock, so I will  be driving to Craigieburn next week to buy the kit! ( see below) 
I am going to need some more thread too, but am hoping I can do a quick visit to Cutting Cloth in Fairfield this Thursday (is that the 31st? I have totally lost track!).
I also just found out that  I can buy sashiko supplies from Jemima's Creative Quilting in Craigieburn. I figure it would probably be quicker to drive up to CB than to tram/train into the city to go to Kimono House ( although I would love to visit the gorgeous Nicholas Building again!).

So anyway, I had this crazy thought the other night, about a sashiko design to try. If I can't sleep, or as a mental wind down to go to sleep, I think through craft/sewing ideas. Anyone else do that...? It is  often quite out there " what if..." type of ideas, and other times working through something I am stuck on. 
So this time I had a great idea - but then I fell asleep! I woke up knowing I had come up with an idea - but could not recall what it was! Lucky it was the weekend ( and school hols anyway) so I could stay in bed & try to remember what my idea was. 
Eureka! I got up & grabbed my iPad to look for similar ideas- surely someone else had made this? Well, not that I could find. 
So I hunted out some suitable fabric - I knew I had some black linen-y fabric somewhere, and found a suitable stitch pattern in my sashiko design book.
I drew around the largest plate I have, and a small glass bowl.
Used my 2cm sashiko grid ruler I made last week.
Ta dah!
Now I can stitch away while watching CosTube posts -  while my H is watching the cricket on tv!

Sunday, 20 December 2020

A shed bed for The Dog

A quick hand sewing job completed today. I found a cot matress at hard rubbish last month & cut it in half to make a dog sized bed. Found some free hessian coffee bags out front of a coffee wholesaler in Coburg North. Roughly sewn up with some crochet cotton from the $2  shop.
Pefect for a dog bed in the shed, he loves to have company and hang out when my H is working in the shed.
Studying my handywork, think it meets with approval!


Thursday, 17 December 2020

New look Coburg station

Had a quick wander around the brand new Coburg Station this afternoon. Very impressive.
Photo heavy post (and this is just a few, my phone is forever telling me the memory is full!) Indulging in my fondness for angles and building  design.

Sunday, 13 December 2020

Kyneton road trip

Hmmm what is the collective noun for echidnas?

Nursery rhyme mice!
Smoke plant in a pot! had never heard if these amazing plants until a couple of years ago. Now they are everywhere!
medieval/ viking tunics anyone? ( or have I just been watching too many posts from The Welsh Viking lately?  seriously these look more like historical reenactment/ cosplay than regular clothes!)

Wednesday, 18 November 2020

Legs!


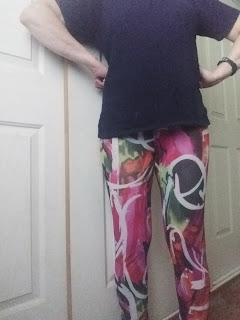
 I downloaded the free leggings pattern from “ Patterns for Pirates” ages ago! As the weather has warmed up a bit lately, I decided I really must try and make some bright, funky leggings. Mine are pretty much ALL black, in 3 different lengths ( full, 3/4, and knee - marked with 3/4 or K on the label because I got sick of putting the wrong length on when they all look nearly the same!)

I have one bright pink patterned slinky knit pair, an op shop find which I wore last week for a pop of colour under a grey dress. They were quite comfy and looked nicer than black and grey! Plus being a lighter weight fabric ( the black ones - all RTW Rivers/ Kmart/ Best & Less brands I think; are made from lightweight cotton/ elastane T-shirt fabric). 


( books work as patterns weights right? They were the closest thing I had to hand, using the bed to lay out the slippery fabric!)

So I dug out the pattern, laid my pink leggings on top & used that size/ shape to cut out the pattern. I made the first pair from a  remnant of stretch net print, bought from Rathdown Fabrics years ago. 

Well... why did I wait so long!?!

Super duper quick to sew! Super comfy to wear! I wore one pair yesterday, and another today. Seriously they could be PJ’s they are THAT comfy! 


I made 6 pairs so far ( ok I sewed 7, in all different fabrics, but the last pair in a sort of grey/ lilac heavy spandex sort of fabric are too tight! Same pattern, different fabric, different fit! Exactly what PFP say on  their website! 

I may be planning on making even more...

I just have to do my next sewing task of adding pockets to a couple of my grey dresses! I figured since I had the overlocker out on the weekend, I would cut out then overlock a pile of pocket pieces, ready to unpick some dresses & add pockets ( inspired by a Morgan Donner post I watched recently!). Time to start unpicking...

Saturday, 14 November 2020

Sashiko stitching


Have been of the radar for a while, but I have been doing a little bit of crafting. 
I bought a sashiko kit ( printed cloth, needles & thread) at the craft show about 2 years ago ( remember the Quilt and Craft Show?!). I started it a couple of months ago, and then really got into it. I found it quite soothing, and easy to pick up, you don’t have to get to the end of a row like when knitting! 
The stitches may not be as neat as they are supposed to, and the back is certainly NOT at all neat, but who sees the back?
Planning on doing another one now, I bought a skein of green thread when I bought the other pieces, but no cloth. So I bought some grey linen from Spotlight, and am going to experiment with my light box and a transfer pen. But I couldn’t find any full sized free patterns online, so put a call out on my local Good Karma Network, and found a Sashiko book to borrow, within a good dog walking distance of my house in fact! Time to start planning a new stitching project!

Tuesday, 29 September 2020

Quilt design board

I have read on craft blogs about people trying out patterns on a " design board". I realized a few months ago that I actually had something I could use! 
I had made a portable pin board/ display board for work a few years ago, made from corflute boards (old real estate boards) gaffa taped together, and covered with sturdy pin board fabric (which can be used for velcro backed cards too). 
The sturdy fabric takes pins well, so I can pin strips of fabric on to play around with colours - and after all, isn't that the best part of making a quilt?

Tuesday, 22 September 2020

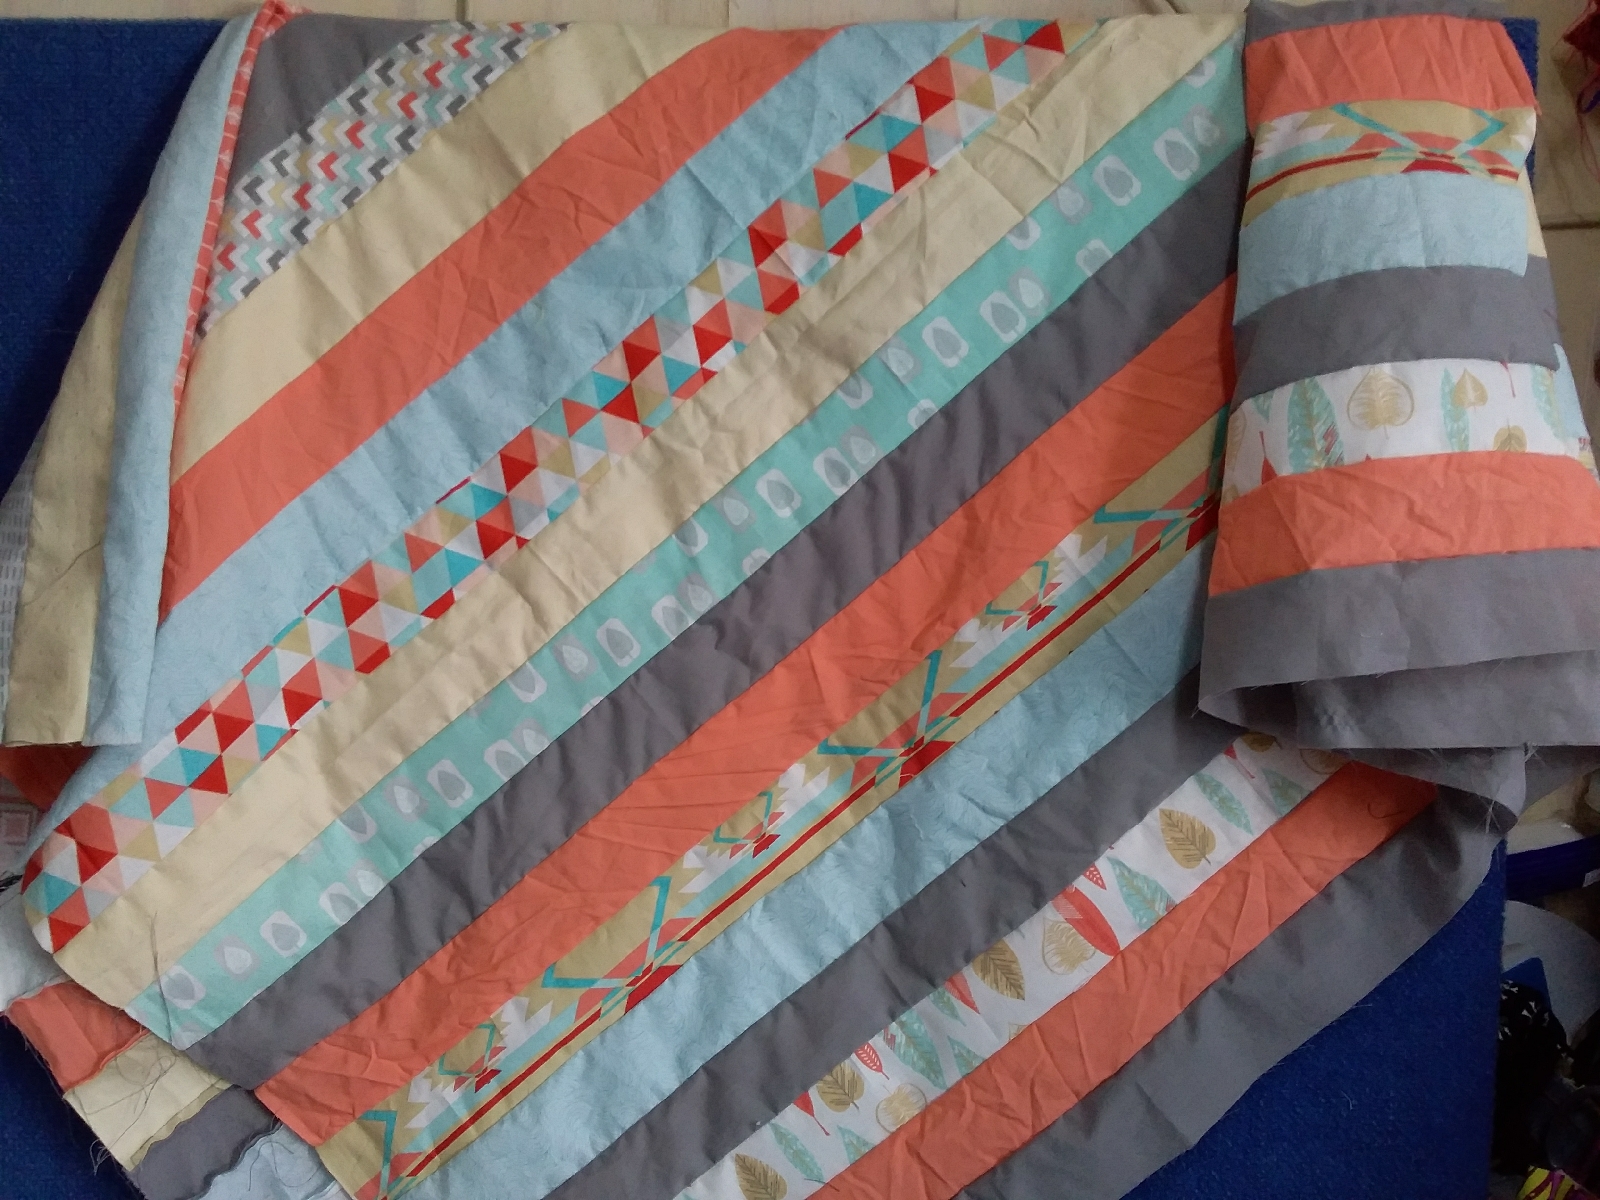
Disappearing 9 patch - done!

Finally finished my Disappearing 9 Patch quilt. 
The Dog insisted on joining in with the photo shoot!
Planning the next project now...

Friday, 4 September 2020

budgie business


The new flock of budgies! Sorry the pictures have posted in reverse order - starting with the finished birds and going backwards in the process to the initial painting!


Sewing is tricky with the tiny tail piece - because of the fabric paint the pieces stick slightly, which makes turning the tail right side out quite tricky! I end up using my jewellery pliers, and also sewing with the Teflon foot on the machine, as shown.  


Blue budgie bits painted, cut out ready to sew. I am experimenting with different ways of shaping the tail, seems silly to cut out 2 small pieces when they are going to be sewn into one rectangle anyway!

6 birds ready to sew.


Birdie bits traced, painted and hanging up to dry. The tricky bit is drawing the face on the yellow head - I can’t trace it on the light box so have to draw it freehand.

Sunday, 16 August 2020

a little birdie told me...

Back in 1991 I bought this WW "Handmade" magazine. One of the projects in it that caught my eye was the page of fabric budgies! 
Fast forward to the present day, and I remembered these cute little birds. I had never gotten around to making one before, but thought it would be perfect  to make for a birthday gift for a friend who loves native birds! 
My light box came in handy to trace the pattern from the magazine, and again to trace the pattern and markings on to calico.
Markings were easily done with a fabric texta ( would you belive I have a pack from IKEA? 
Blue paint next, then let it dry before cutting out. While it was drying I whipped up a couple of masks in some Dr Who fabric for another friend who had a birthday the day before!
The painted fabric was ok to sew, but tricky to turn right side out, as the paint made it slightly tacky/ grippy.
The beak and cere were "painted" with the fabric paint pens I won in a craft pack at the Craft and Quilt show a couple of years ago.
The trickiest bit was making the feet/ legs - the instructions were quite vague overall- and I had to stitch the legs in place because it kept moving and the bird just could not stand up. 
I am super happy with how he turned out! And he was the perfect present! 
Think I might spend all of next weekend making budgies!

Friday, 7 August 2020

weekend plans

make some more of these...

eat some of these...
read some of this...
and walk this one...

Sunday, 19 July 2020

Mask making 101

So it has just been announced that masks are mandatory as of midnight this Wednesday.
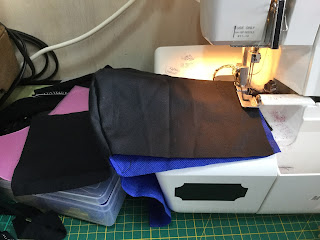
Luckily I have been trialling patterns this week, and did some batch cutting yesterday.  The Craft Passion pattern is the most comfortable and is quick to sew, with no darts or ironing. I mean you could press the seams but I have neither the space nor time for that! What I do have is the overlocker set up on my cutting table ( not much room left for cutting though!) and the sewing machine over its little table, and a clear pathway between the two!
Pattern wise I realised when I printed the pattern it is slightly under the scale, but fits ok. I printed the mens size, which measures along the bottom at 13.5cm ( to fit me) and  I enlarged the pattern ( by drawing around it with 2 pencils!) to be 14.5cm , which fits the tall 19 year old comfortably.

So my instruction for batch making masks are:
Cut out 3 layers. 1 outer   2 liner   3 inner ( the bit that touches your face)

I have been using either some weatherproof fabric for the outer ( a random Spotlight find years ago, knew it would come in handy for something! Catch is I only have pink or a dull orangey- red) with a liner and inner cut from old sheets.
 Version 2 is cut from poly- cotton outer, liner from cut up shopping bags ( made from non-woven polypropylene / viscose), inner from poly cotton sheeting. Lucky I have a pile of second hand sheets I use for quilts, and pattern muslins!
Elastic or t shirt yarn (strips of t shirt fabric - which is more comfortable on the ears than elastic) is used to hold it on. I prefer 1 long piece about 65 cm, that goes around the back of the head twice. Can be worn over or under the ears.


Black= outer
blue= liner
grey-inner
13.5 cm  or 14.5cm across, handy that it randomly lines up with the 10cm mark on the cutting mat!

If you want to include a removable piece of wire my method is to use  a scrap of t shirt fabric or something that won't fray or require a hemmed edge. Sew a little rectangle ( drawn on to pattern above) onto each  of the INNER pieces BEFORE sewing together/ Much easier than trying to sew a pocket into the 3D shape once it is sewn together. Use the gap in the centre to insert/remove wire for washing/ But I have found the mask sits ok on the face and doesn't really need the wire.

Sew curve edges together, I find it easier to start at the flat base side, otherwise the pointy bit can get stuck in the feed dogs of the machine. Sew each pair together.


Now I swap to the overlocker and overlock the edges for a neat finish and to save having to do a double hem later. Sew right sides out.
By overlocking the outer and liner together, I can then treat it as one piece and not get the wrong layers together, which I did on one of my practise ones!  I had a slightly textured fabric for the liner but it ended up as the inner, and it tickles my nose to much.  A nice smooth sheet is much better, or even something softer, might try some satin lining fabric, although  it can be a bugger to sew as it frays like crazy...

Now there are 2 pieces to work with.


Pin or clip the 2 pieces together, right sides together. Sew  TOP and BOTTOM but not the short sides.
Turn right sides out, I find a chopstick is handy.Hand roll the hems to make the edges neat ( quicker than ironing!) Nearly there!


This is where the overlocked sides are handy. Fold the edges in about 1cm on  either side to make a casing for the elastic. Sew one side, then turn and top stitch the top or bottom edge ( depending on where you started!)


Done! Cut about 65 cm elastic, thread on a large needle or bodkin, in one loop through each side.